Last July 2023, I got my ISTQB Certified Tester Foundation Level v4.0 certification. Here is how I did it in case you are also interested in taking one.
Introduction
ISTQB is an internationally recognized software testing certification body. As of June 2023, it has issued more than 900k certifications in 130 countries. ISTQB certifications cover various types and aspects of software testing across a wide range of industries including AI testing, Game testing, Automotive software testing, Test Automation Engineering, Acceptance testing, Usability testing, and Agile testing among others, and has three certification levels: foundation, advanced, and expert level.
There are several advantages to getting an ISTQB certification both for professionals as well as employers. For professionals, some of the benefits include industry credibility, enhanced career prospects, comprehensive knowledge and practices, global networking and development, continuous learning, improved test planning, recognition of professionalism, and boost in job satisfaction. For employers, the benefits include standardized documentation, increased cost savings, competitive advantage, establishment of common language of testing throughout the organization, and capability to provide higher-level services to customers.
This blog will show you the actual steps to taking up the Foundation level certification. The Foundation level certification certifies that you know and understand the fundamental testing concepts and activities and it also allows you to take up more advanced certifications. There are four main action points to getting this certification:
- Buy voucher for the exam.
- Schedule the exam.
- Prepare for the exam.
- Take the exam.
You can prepare first before buying the voucher and scheduling the exam; however, I would recommend buying the voucher first before preparing for the exam. Buying the voucher first can provide an extra push to taking the preparation for the exam seriously as you’ve already invested the financial resources and you’ll have a definite deadline to keep in mind.
Buying a voucher for the exam
In order to schedule for the exam, a voucher is needed. The detailed steps to obtain a voucher are discussed below.
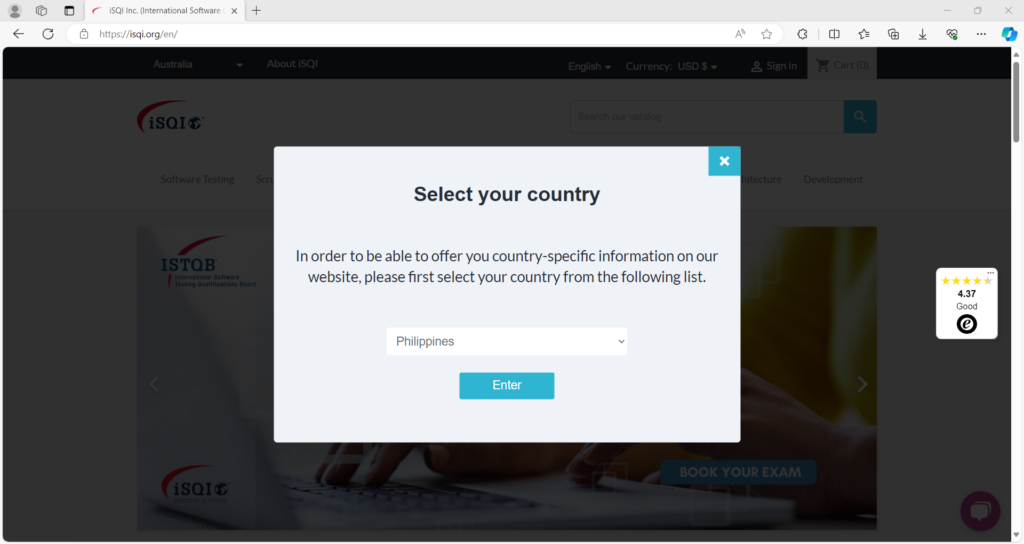
- Go to isqi.org, select your country, and create an account. I used my personal email for this.
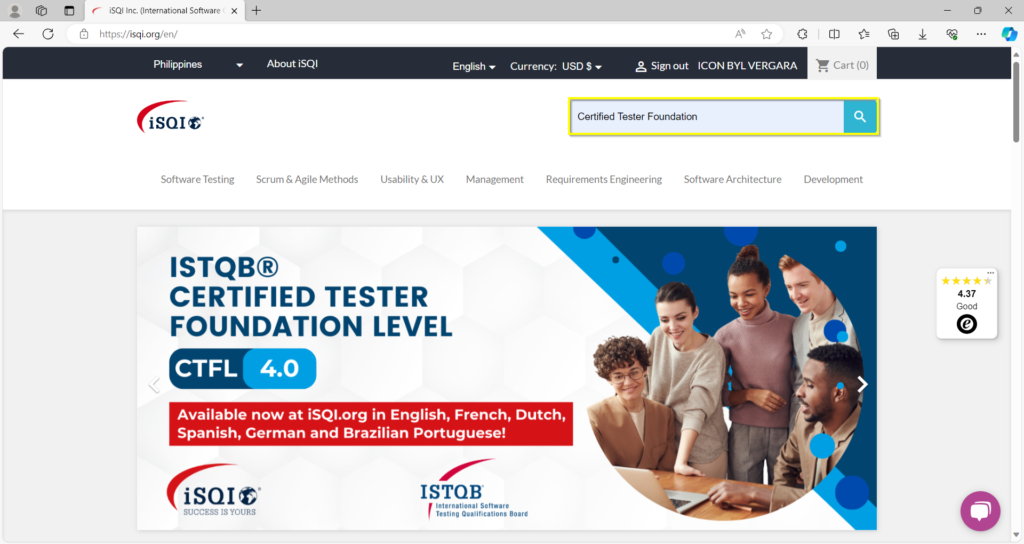
- After creating account, go to the home page and search for Certified Tester Foundation.
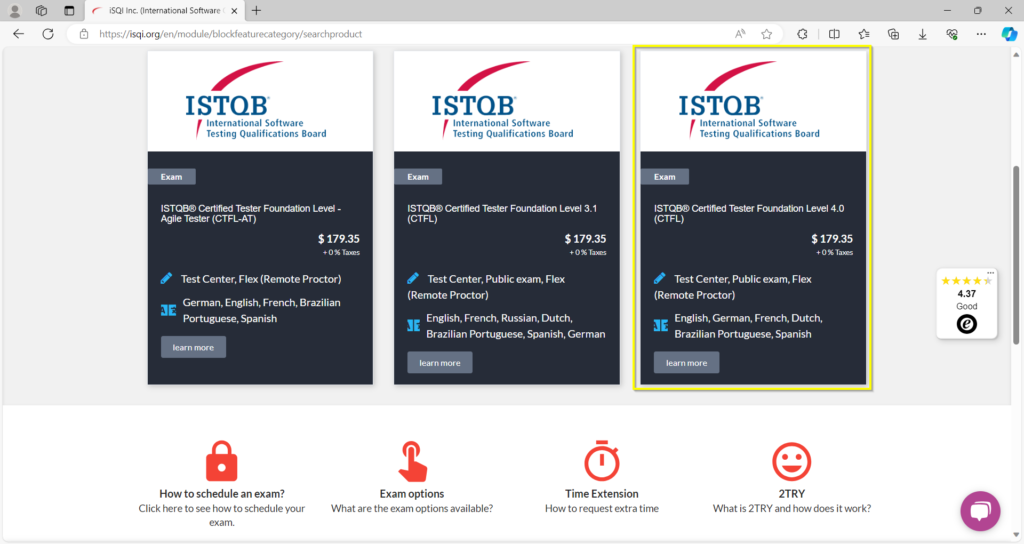
- Select ISTQB Certified Tester Foundation Level 4.0 (CTFL). The 4.0 version is the latest edition for this certification and was released in 2023. The 3.1 version was released in 2018 and will be offered until May 2024 only. You can take that version and you will still have the ISTQB certification for life. As for me, I took the 4.0 version which contains the latest standard practices in the industry like shift-left testing and continuous integration and deployment. For more information about the differences in the 3.1 and 4.0 version, you can refer to this link.
- Select preferred language and exam method. The available options for exam method are: Public exam, Flex (Remote Proctor), and Test Center. For more information about the exam options, you can refer to this link.
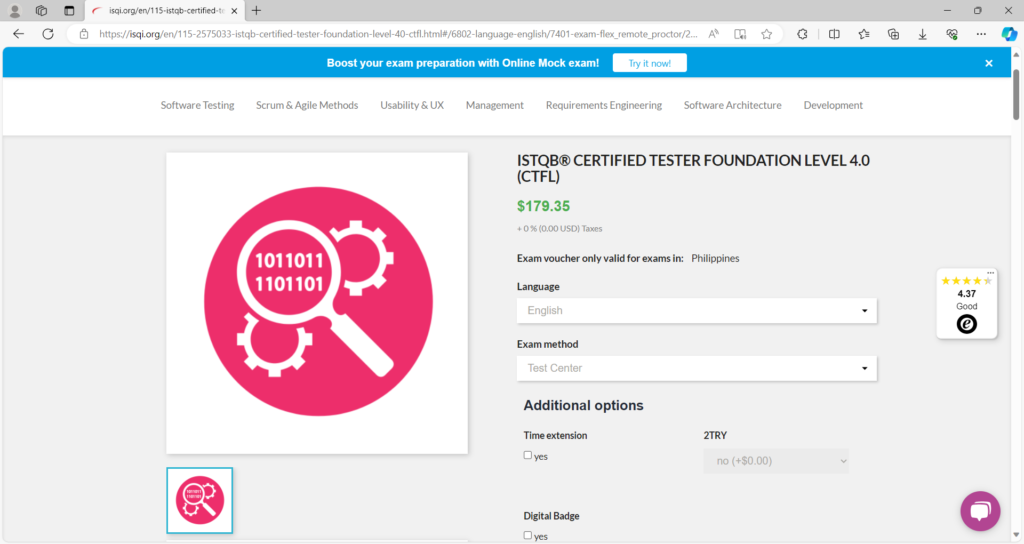
With Flex (Remote Proctor, you can take the exam from your home or office. For more information about Flex (Remote Proctor), you can refer to this link. For Test Center option, you can check if there are available centers near your location with this link.
As for me, I chose the Test Center option as there are multiple test centers available near my location and I don’t have to deal with all the requirements of doing Flex (Remote Proctor). I just have to go to the test center and take the exam. The test center will handle everything else (i.e. providing the appropriate test environment and printing the results).
There are also additional options available like Time extension, 2TRY, and Digital Badge.
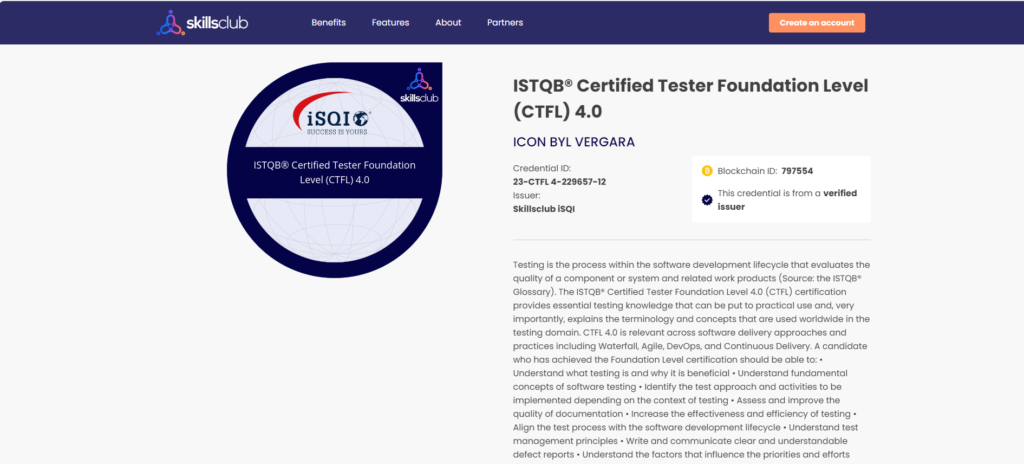
The Digital Badge is free, so I recommend checking yes for that. With the digital badge, you can have your certification easily shareable for display like this. For the time extension and the 2TRY, I do not recommend taking those. In my experience, I finished the exam in about 30 minutes and still have plenty of time for review and go through the exam multiple times. For 2TRY, you pay an extra 25% (around ₱2,500.00) to have another chance in taking the exam in case you fail the exam the first time. I don’t think this is necessary since you can always reschedule if you don’t feel ready to take the exam yet.
This page also contains several questions and answers like which topics are covered in the syllabus, what the entry requirements are, etc. It also contains the product details as shown below, so make sure to read everything in this page.

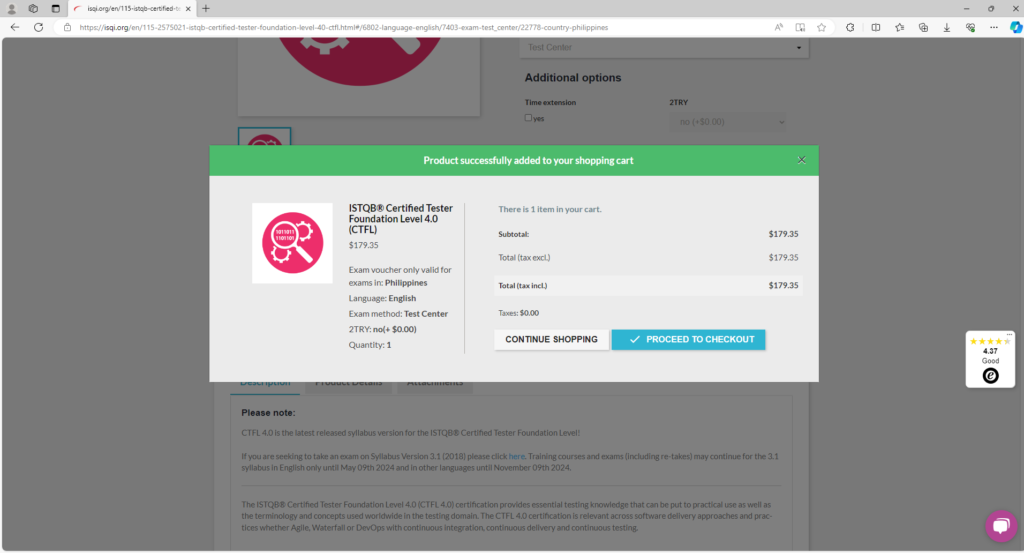
- Once the language, exam method, and additional options are set, click the add to cart button. Afterwards, click Proceed to checkout.
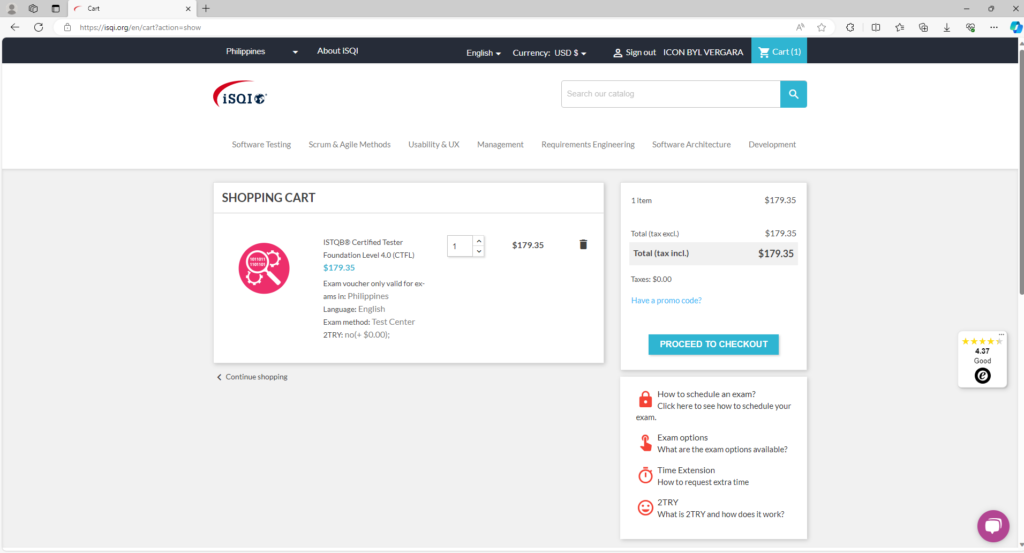
- Verify the item details and then click Proceed to checkout.
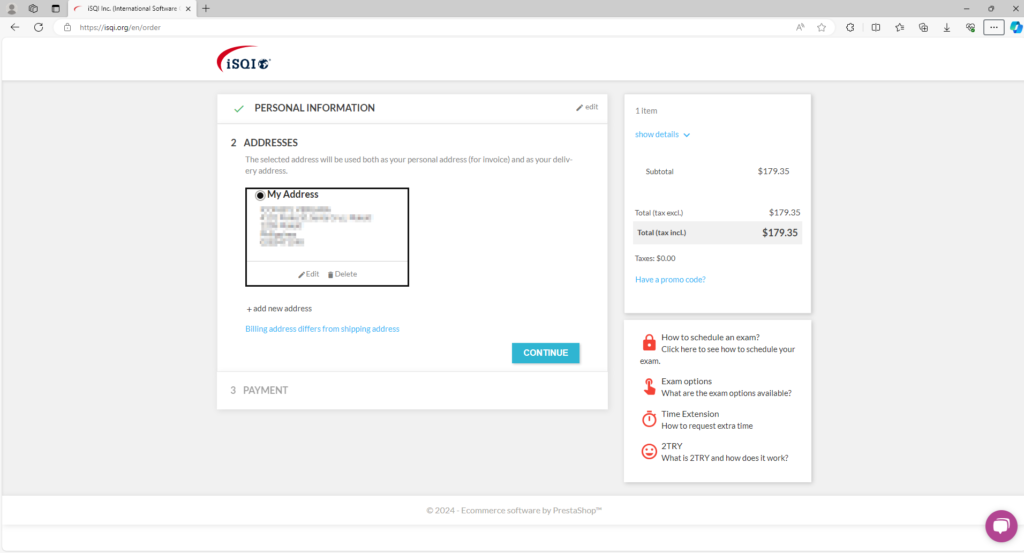
- Confirm your address and click Continue. The page will then proceed to the Payment section.
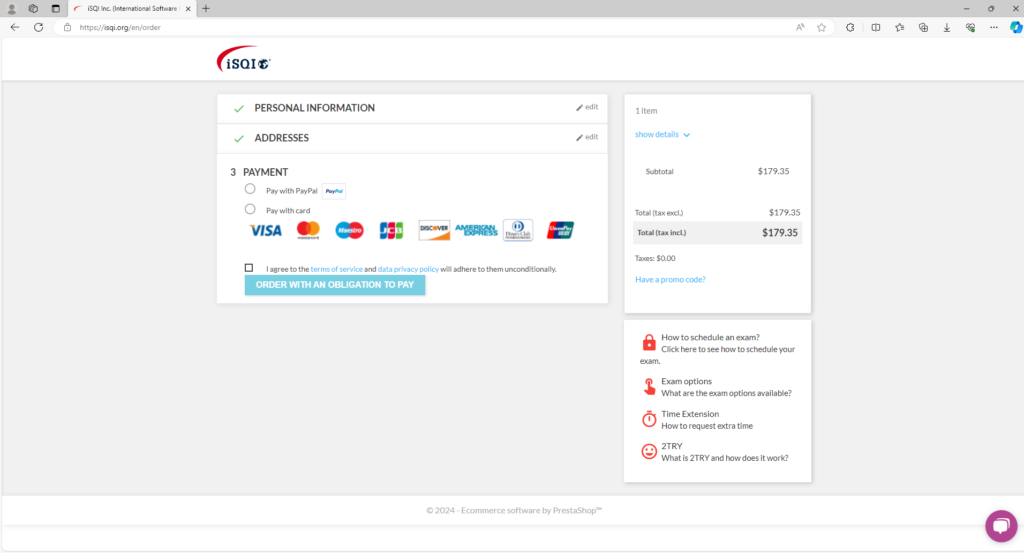
- For the payment, you can choose to pay either with PayPal or with Card.
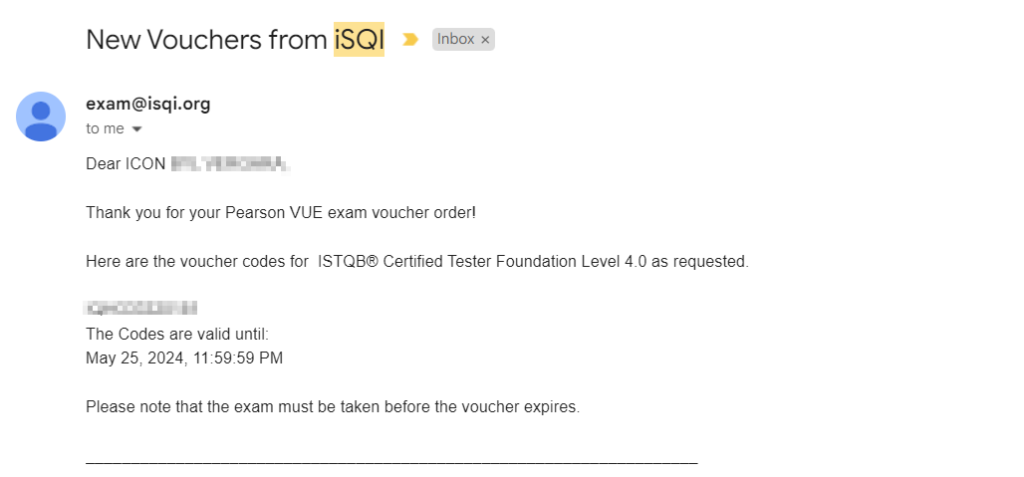
- After successful payment, you should get an email from iSQI.org for the order confirmation and another email for payment status confirmation. After several minutes, you should also receive an email containing the voucher code which will be used to book and schedule the exam as shown below. Note that I bought the voucher last June 2023 and it expires in May 2024, so the voucher is valid for one year.
Scheduling the exam
Now that you have a voucher code, you can proceed to scheduling for the exam. Go to Pearson Vue. Create an account and book the exam. In the end, you should have a time and date schedule to take the certification exam. The detailed steps are discussed below.
- Go to Pearson Vue website. This link is also available in the voucher email. Create an account and then go to the dashboard.
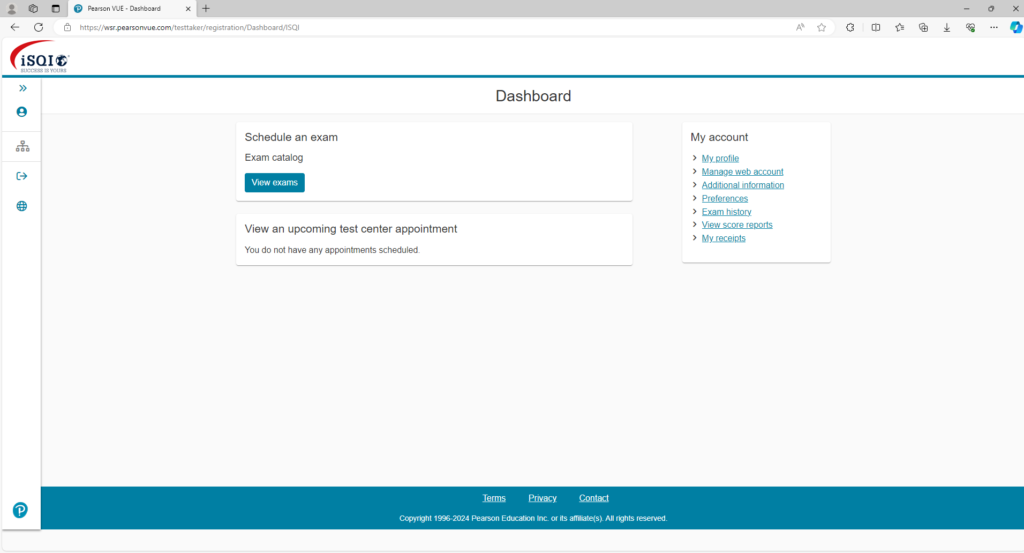
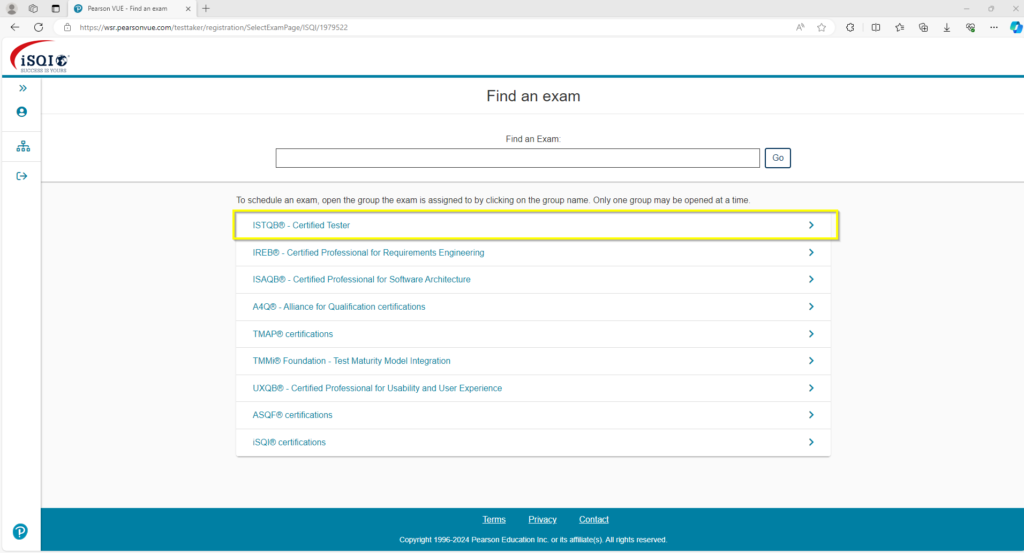
- Click the View exams button. Select the ISTQB – Certified Tester group. A list of all the supported ISTQB – Certified Tester exams will be displayed.
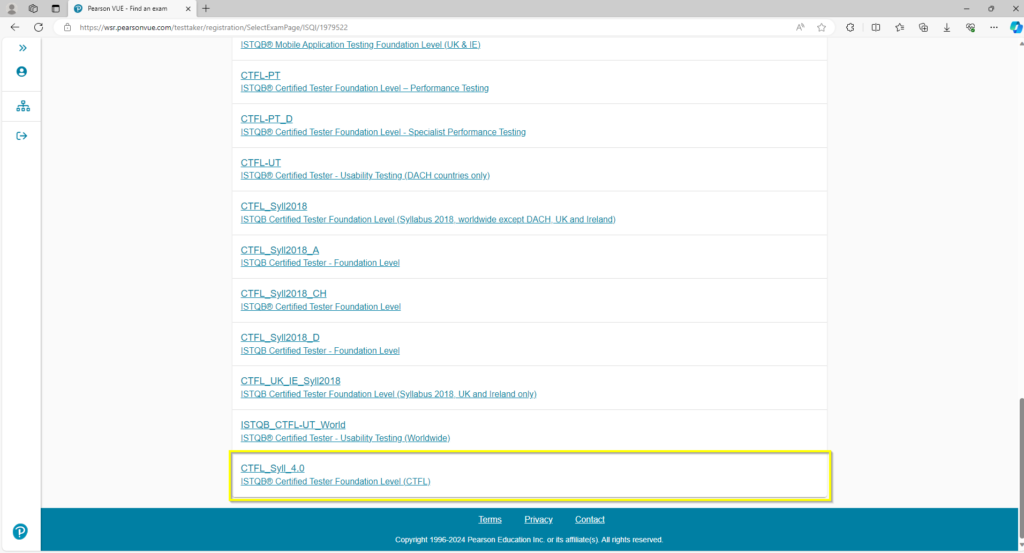
- Scroll down and select CTFL_Syll_4.0. The site will then take you to the Select exam options page.
- If you chose the Test Center exam method option when buying the voucher, select “In person at a test center”. Otherwise, select “Online with OnVUE” if you chose the Flex (Remote Proctor) option.
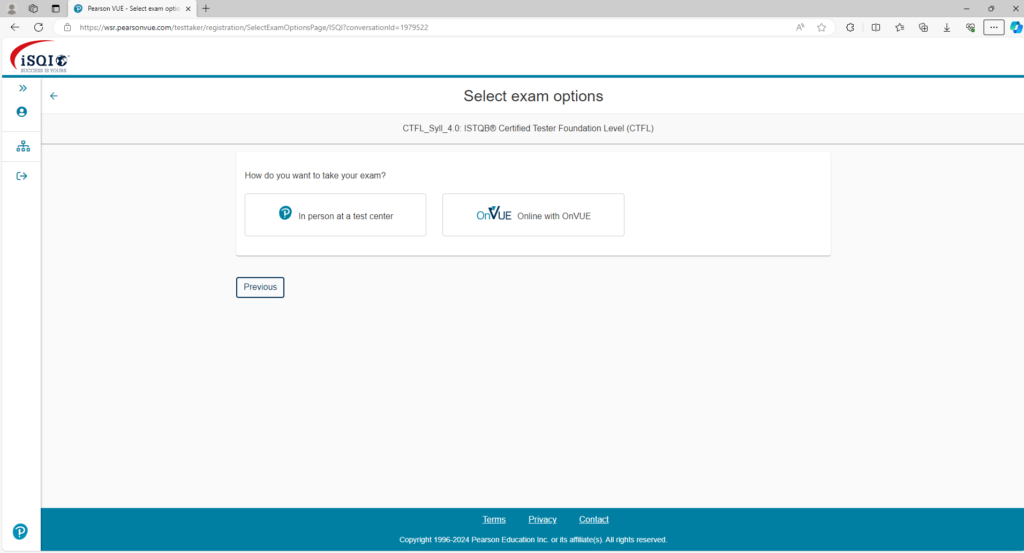
If you selected the Test Center option, you will be shown a list of guidelines when taking the exam in the test center. You will then select the exam language and be redirected to several more pages about additional information and iSQI policies. Proceed until you reach the Find a test center page.
- In the Find a test center page, enter your location and select your preferred test center. Afterwards, click Next.
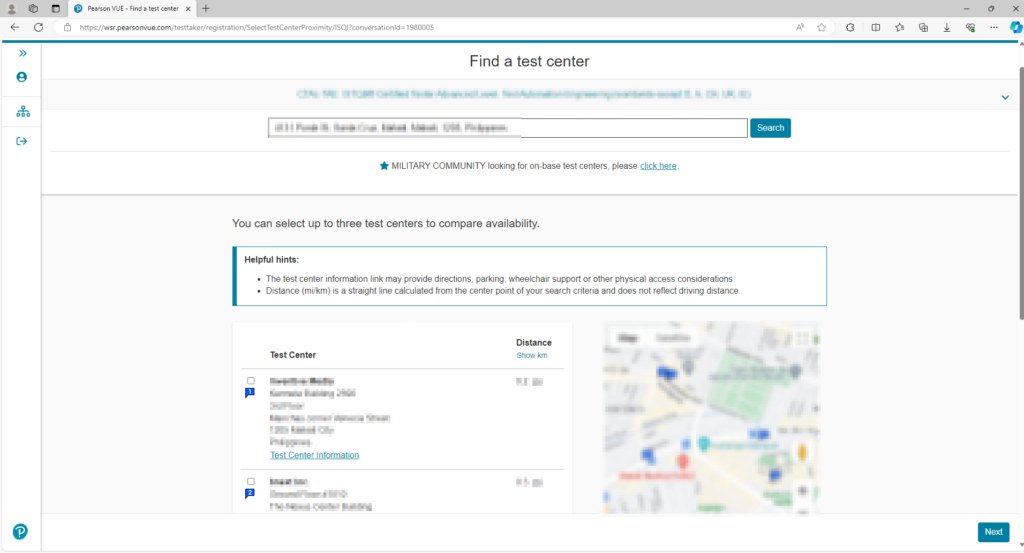
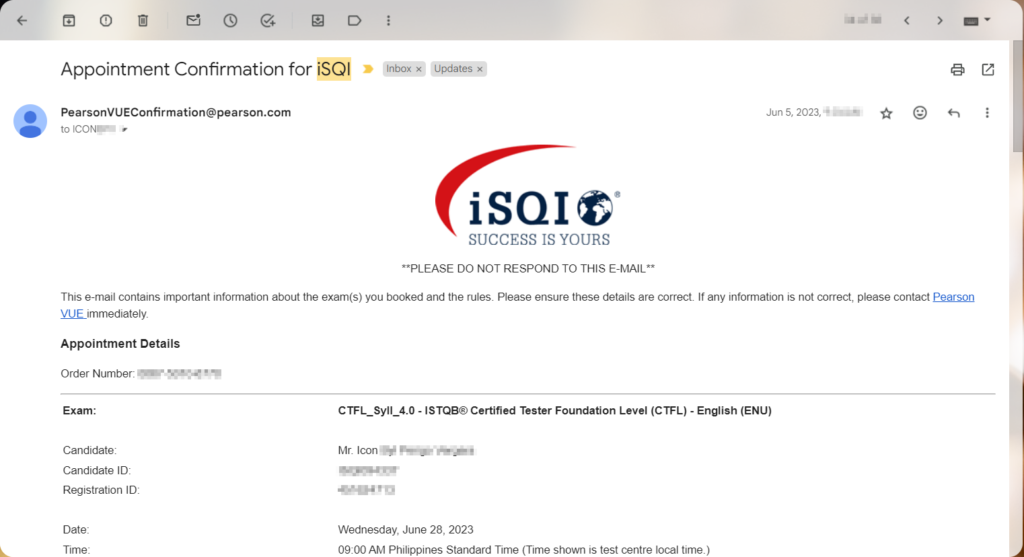
- Each test center will have different schedule of availability. If the test center you selected doesn’t have your preferred schedule, you can click Previous and select another test center. As shown below, I selected bnext Inc. Test Center which provides my preferred schedule.
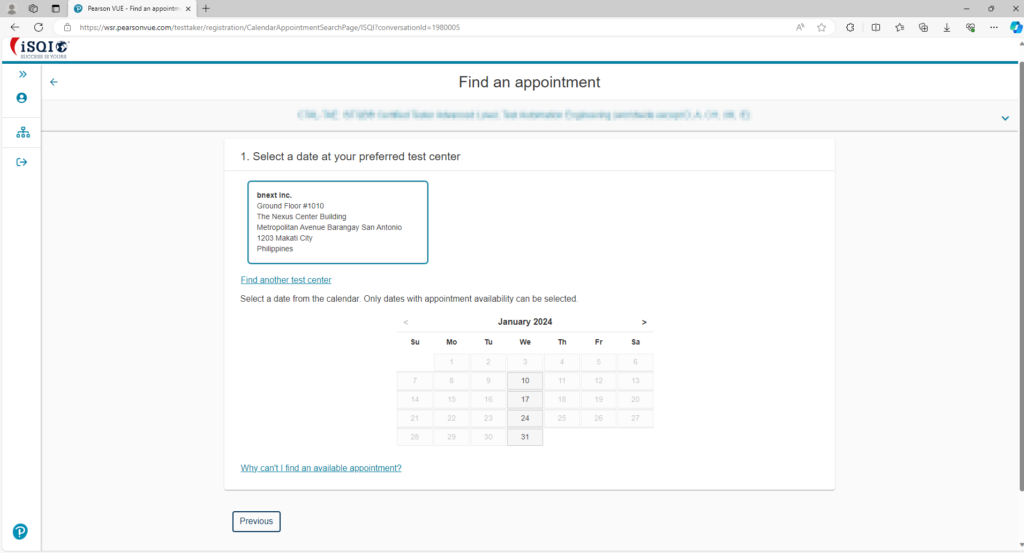
- Select your preferred date and then select your preferred time by clicking the “Explore more times” button. Afterwards, you can book the appointment by clicking the “Book this appointment” button.
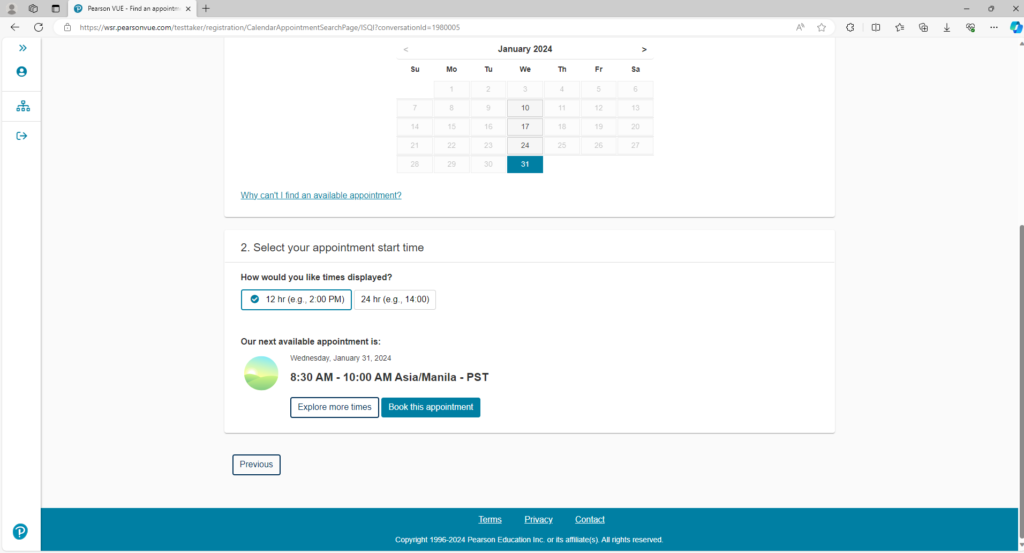
- Proceed to use the voucher in the next section.
- You will then receive an email regarding the confirmation of your appointment.
Preparing for the exam
Now comes the hard part – study and preparation. These are the learning resources that helped me prepare for the exam:
- ISQTB CTFL 4.0 syllabus.
- ISTQB sample questions and answers for version 3.1
- ISTQB sample questions and answers for version 4.0
- LinkedIn course
- Quizlet flashcards.
To prepare for the ISTQB CTFL v4.0, I studied the sample questions and answers of both v3.1 and v4.0. Version 3.1 contains more sample questions and answers and I feel going through them helped me feel confident enough to take the exam.
One technique to prepare for the actual exam is to take practice exams. Set a timer for 60 minutes and answer one set of the sample questions. Afterwards, check your results. Strengthen your shaky knowledge areas by going back to the syllabus and other online resources.
Another technique is to use the Quizlet flashcards and try all the learning methods provided by Quizlet. Getting through all the flashcards (194 cards) was one of my “exit criteria” for this stage before taking the exam. By studying for about one hour per day, I was able to complete the preparation in less than 3 months.
Taking the exam
After all the hard work of studying, finally here comes the moment of truth. Taking the exam in the test center is straightforward. Make sure to be in the test center 15 minutes before the scheduled time in order to prepare for other requirements in the test center like filling up forms and storing your stuff in the locker.
After taking the exam in the Test Center, you will be given a printed preliminary result. The image below is the actual printed result I got after taking the exam.

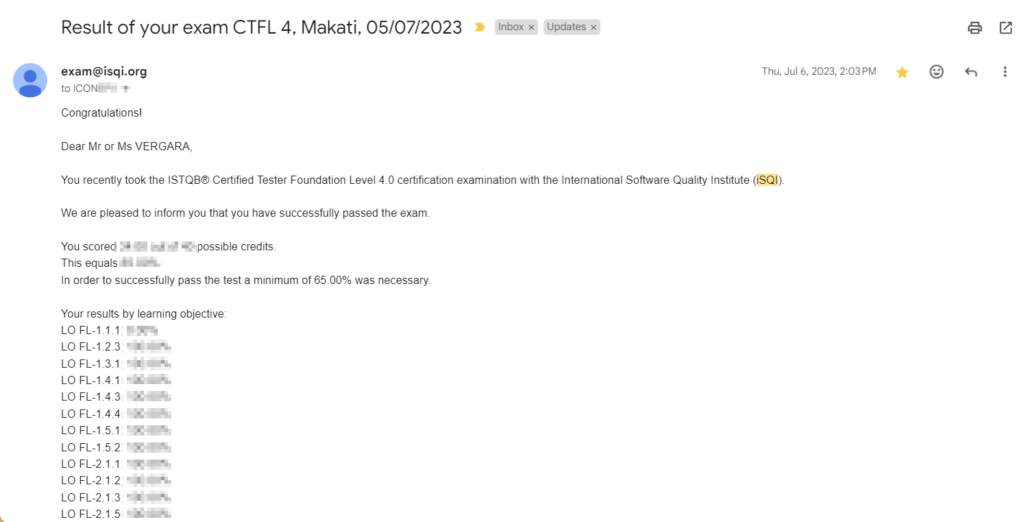
In less than 24 hours, you will receive an email for the official results of the exam with the detailed summary of results by learning objective, as shown below.
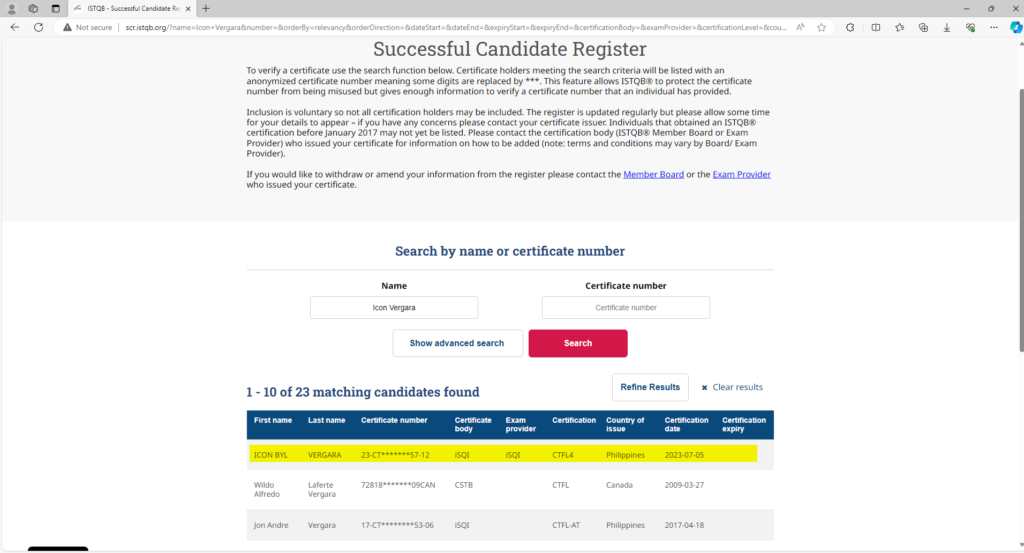
You can now also sign up to be included in the ISTQB – SCR (Successful Candidate Register) so that your name will show up in the database in case anyone needs to verify your certification.
You will also receive the link for your digital badge. Note that you first need to create an account in skillsclub.com.
Conclusion
Taking up the certification was a challenging yet satisfying experience. The Foundation level serves as the steppingstone for more certifications and upskilling. Ever since obtaining the certification, the knowledge I’ve acquired has helped me tremendously and has given me confidence in my work. I hope this blog has been helpful in achieving your professional goals. Cheers!